
Cotton + Steel Divided Basket


Today I have my very first guest blog. The Noodlehead Divided Basket sewalong I am co-hosting over on Instagram starts today and my co-host Peta is here to show you her gorgeous Cotton & Steel basket and share a tutorial on a handle detail she came up with which looks fantastic.

Thanks Kendra for letting me hang out on your blog today. Excited? Well yessiree I am!
How great is Instagram! I love checking through my feed each day to see what the wonderfully talented quilters and sewers have been up to around the globe. Instagram is such an inspirational and generous community and, of course, it’s how I met Kendra and how the Divided Basket Sew Along came about. I don’t have a blog (and really admire people like Kendra who do) but I’d love it if you came and said hi on Instagram, my user name is @shequiltsalot.
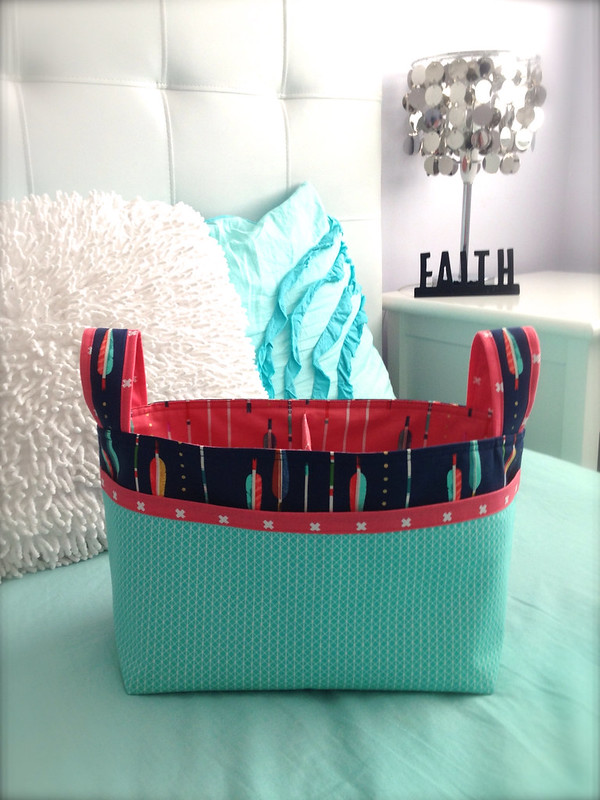
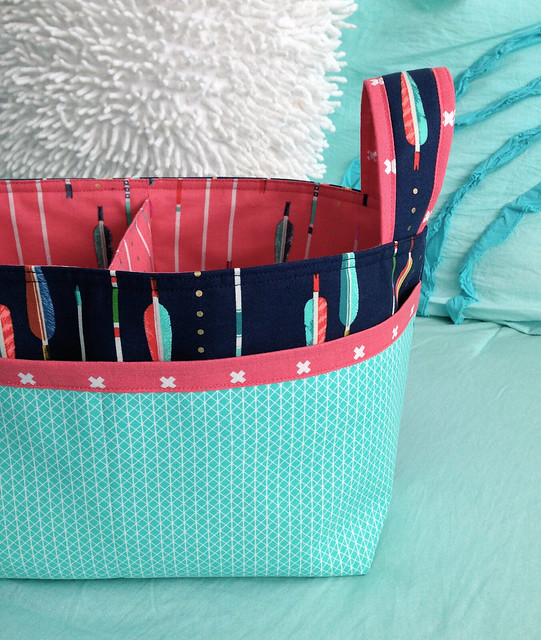
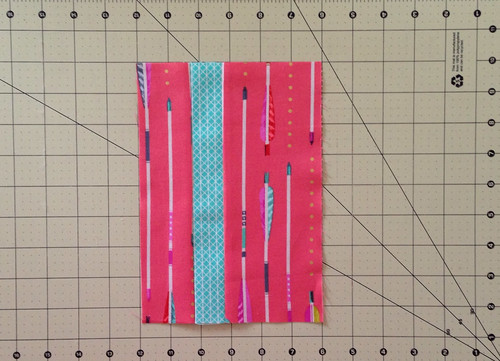
Now… onto the Sew Along. I love Anna Graham’s style and patterns. I’ve sewn a couple of items from her tutorials and have found the pattern instructions really clear and easy to follow. The Divided Basket is no different and I found that I was able to sew my first basket together in no time at all! I’m pretty happy with how it turned out using the new Cotton & Steel fabrics.
 

I ended up applying an additional piece of fusible interfacing to the pocket lining as I wanted to give the pocket some additional durability against sharp objects. To make it a little easier to sew I cut the interfacing a ½ inch smaller on all sides before I ironed it on to the reverse of my pocket lining. I don’t think there is any noticeable difference to how the bag sits, but its nice to know the pocket has some added protection.

The other slight alteration I made to the original pattern was the handles. I absolutely love the look of the cotton webbing handles in Anna’s baskets but couldn’t get webbing to match so I improvised using fabric from the pocket binding and exterior.


Just in case anyone else wants to give these handles a try I’ve included a quick tutorial you can use here.
Tutorial
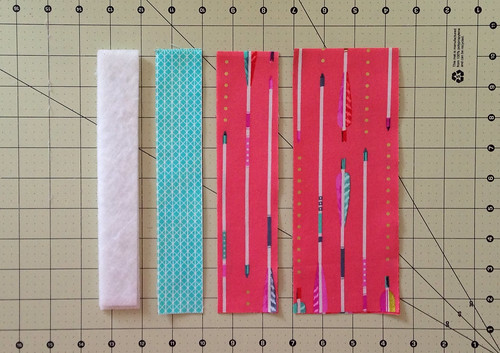
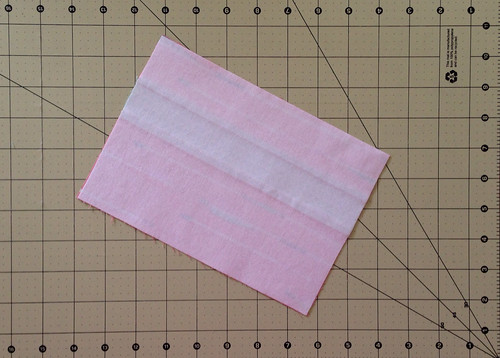
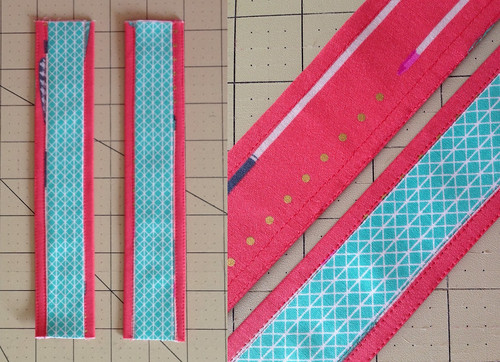
You’ll need the following to make two handles:
2 - 1.5" x 8.75" strip of exterior fabric
2 - 2" x 8.75" strip of binding fabric (you could also use interior fabric)
2 - 3.5" x 8.75" strip of binding (you could also use interior fabric)
Optional - for super sturdy handles add cut 2 – 1 3/8" x 8.5" strip fusible fleece


1. Sew the 2" x 8.75" binding fabric piece to the 1.5" x 8.75" exterior fabric piece and then the 3.5" x 8.75" piece of binding fabric to the other side. Press seams closed towards the binding fabric (trust me!) and then trim the pieced block to 6" x 8.5".


2. Apply the fusible interfacing to the wrong side of the pieced block.


3. Fold the pieced block in half and press well with your iron. Next, using the seam allowance as a guide (told you could trust me!), fold the outside edges in towards the centre. Make sure you line up the outside folded edge really well and press again. Use binding clips or pins to hold everything together.


Optional – if you want to add the fusible fleece do so now – the fleece will need to be fused to the back of the section which has the exterior fabric.


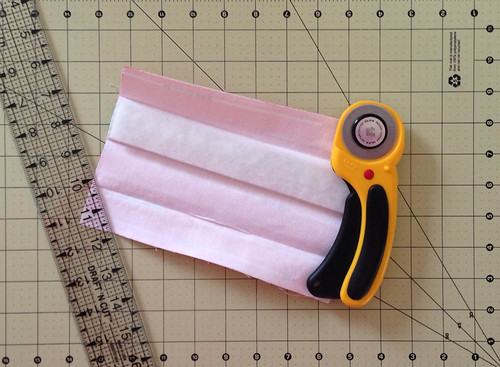
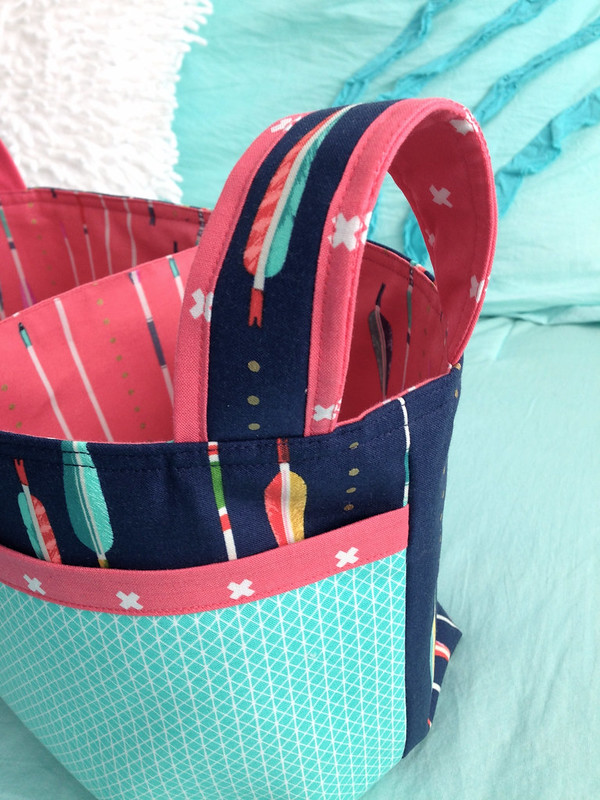
4. Sew 1/16th of an inch from the joined edge to secure the open side then add additional stitching lines ¼ of an inch in from both edges. Your handles will look like this when you are done and are ready to attach to your basket!


Have fun sewing this week. I can’t wait to see all of your gorgeous baskets on Instagram!


Thank you Peta for joining us and sharing your tutorial. If you plan to join in the sewalong post your finished basket to #dividedbasketsewalong on Instagram for the chance to win a $25 gift voucher kindly donated by the guest judge - Anna Graham of Noodlehead.

Comments

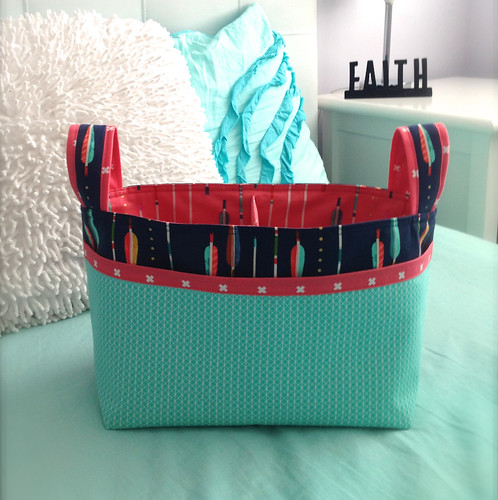
  1. Very nice basked! Like your fabric combination.
    If I will make - finally some day - the divided basket I will absolutely use this handle tut!

    ReplyDelete

Post a Comment

I would love to hear what you think, comment below

Popular posts from this blog

Lady of the Lake - quilt in progress

A few weeks ago the Fat Quarter Shop sent me an advance copy of their latest quilt along. The Lady of the Lake block is a traditional block in the FQS Classic and Vintage series but I think it is a design that remains very modern. I made my version of the quilt mostly from my stash. I started with this pile of April Rhodes Bound collection and added in a variety of grey and grey ombre fabric. By focusing on my stash I am really happy with the variety of colours and textures in the finished quilt. The Lady of the Lake quilt block is created from 8 half square triangles in two sizes so it made sense to use the 8 at the same time method for the smaller triangles. The pattern recommends HST paper which I didn't have time to purchase but I will be adding some to my next fabric order to try.  Each block also creates a spare large triangle so I was able to make more bonus blocks. I really enjoyed getting these blocks up onto the wall, they

National Sew a Jelly Roll Day

Moda Fabrics has declared the third Saturday of September National Sew a Jelly Roll Day . To celebrate this fun event Fat Quarter Shop offered me a choice of their wide selection of Jelly Rolls to take part in Project Jelly Roll . The aim of the day is to break open those Jelly Rolls and whip up a quilt. I chose the Desert Bloom Jelly Roll by Sherri & Chelsi and it was a perfect match for the Jelly Roll Jam II pattern . Look at the gorgeous rainbow that was created when I de-fluffed the edges with masking tape before taking off the ribbon. It was really fun to plan the colour placement in this quilt. Desert Bloom was a new to me fabric collection and the navy designs really caught my eye. I played around with a few different ideas but in the end I decided to use the white, yellow, salmon and terracotta fabrics for the narrow blocks and allow the deeper colours to shine in the wide blocks.  This pattern is ideal for chain piecing and the blocks come toge