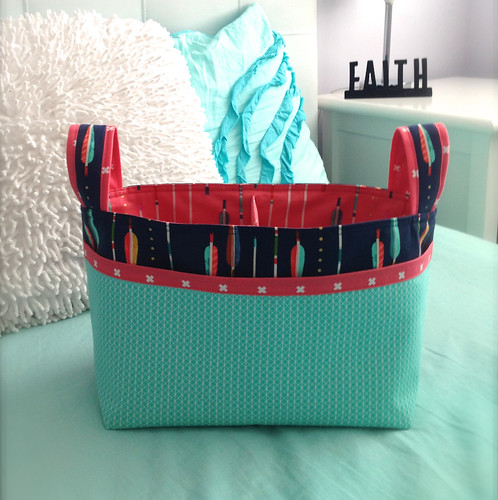
Today I have my very first guest blog. The Noodlehead Divided Basket sewalong I am co-hosting over on Instagram starts today and my co-host Peta is here to show you her gorgeous Cotton & Steel basket and share a tutorial on a handle detail she came up with which looks fantastic.
Thanks Kendra for letting me hang out on your blog today. Excited? Well yessiree I am!
How great is Instagram! I love checking through my feed each day to see what the wonderfully talented quilters and sewers have been up to around the globe. Instagram is such an inspirational and generous community and, of course, it’s how I met Kendra and how the Divided Basket Sew Along came about. I don’t have a blog (and really admire people like Kendra who do) but I’d love it if you came and said hi on Instagram, my user name is
@shequiltsalot.
Now… onto the Sew Along. I love Anna Graham’s style and patterns. I’ve sewn a couple of items from her tutorials and have found the pattern instructions really clear and easy to follow. The
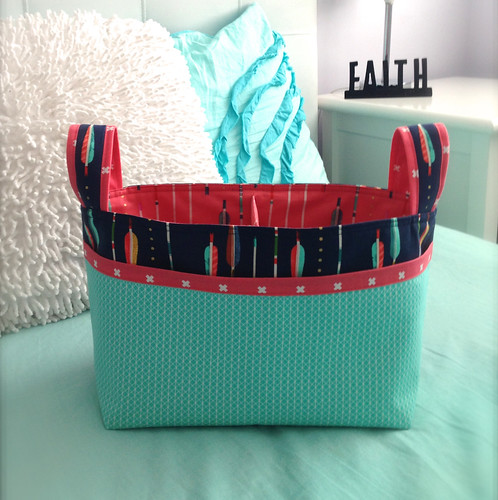
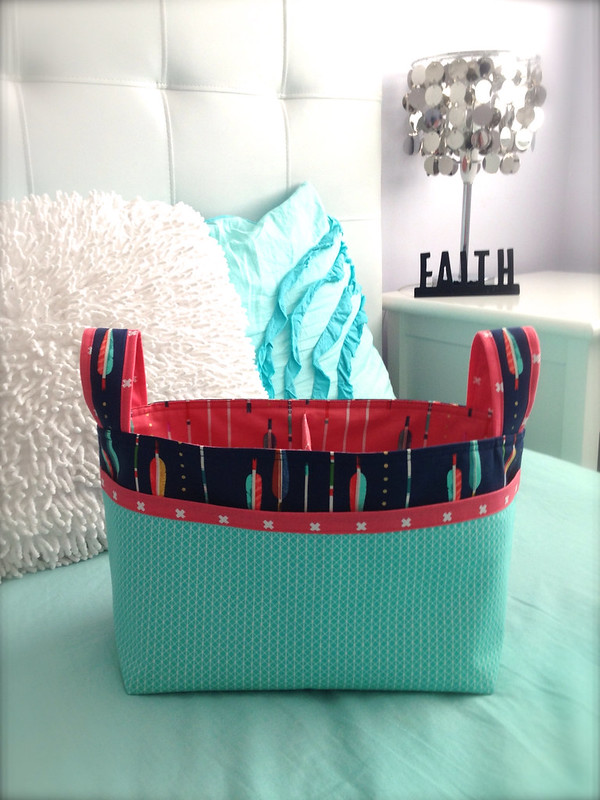
Divided Basket is no different and I found that I was able to sew my first basket together in no time at all! I’m pretty happy with how it turned out using the new Cotton & Steel fabrics.
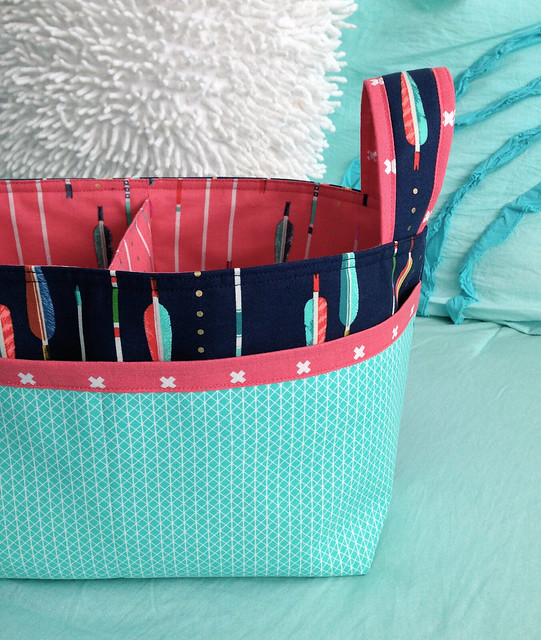
I ended up applying an additional piece of fusible interfacing to the pocket lining as I wanted to give the pocket some additional durability against sharp objects. To make it a little easier to sew I cut the interfacing a ½ inch smaller on all sides before I ironed it on to the reverse of my pocket lining. I don’t think there is any noticeable difference to how the bag sits, but its nice to know the pocket has some added protection.
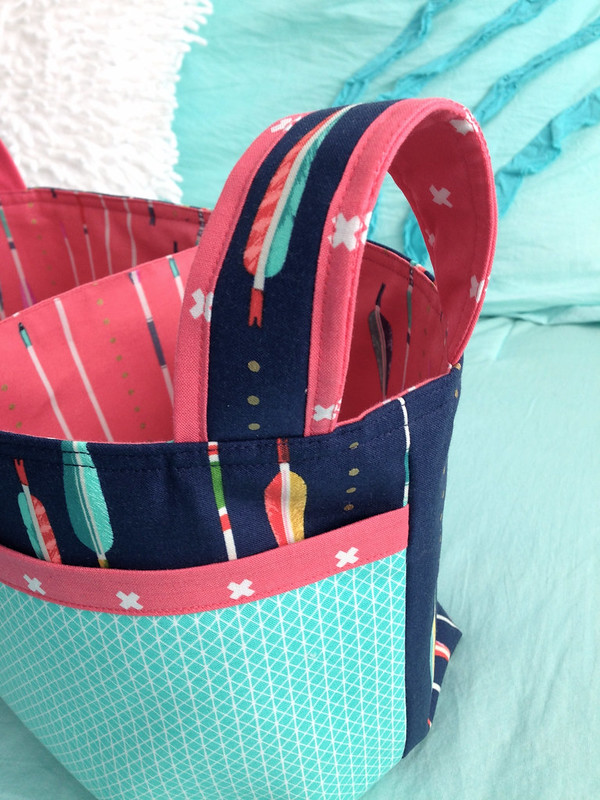
The other slight alteration I made to the original pattern was the handles. I absolutely love the look of the cotton webbing handles in Anna’s baskets but couldn’t get webbing to match so I improvised using fabric from the pocket binding and exterior.
Just in case anyone else wants to give these handles a try I’ve included a quick tutorial you can use here.
Tutorial
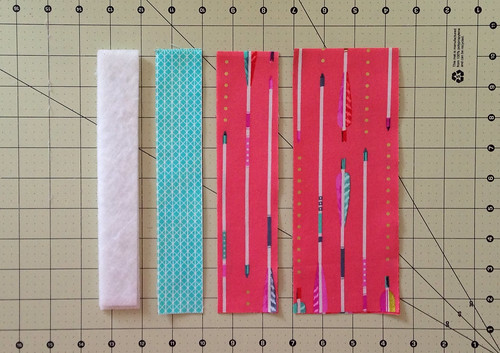
You’ll need the following to make two handles:
2 - 1.5" x 8.75" strip of exterior fabric
2 - 2" x 8.75" strip of binding fabric (you could also use interior fabric)
2 - 3.5" x 8.75" strip of binding (you could also use interior fabric)
Optional - for super sturdy handles add cut 2 – 1 3/8" x 8.5" strip fusible fleece
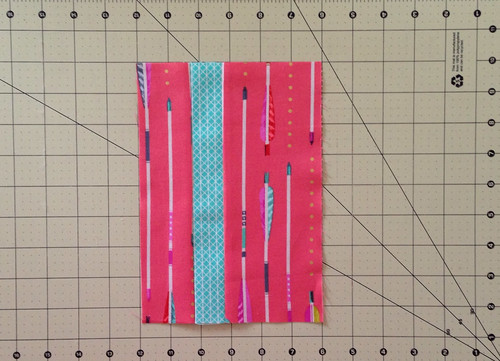
1. Sew the 2" x 8.75" binding fabric piece to the 1.5" x 8.75" exterior fabric piece and then the 3.5" x 8.75" piece of binding fabric to the other side. Press seams closed towards the binding fabric (trust me!) and then trim the pieced block to 6" x 8.5".
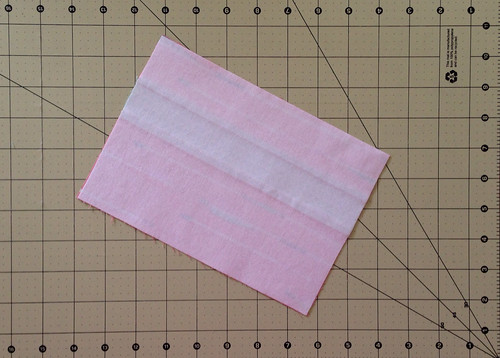
2. Apply the fusible interfacing to the wrong side of the pieced block.
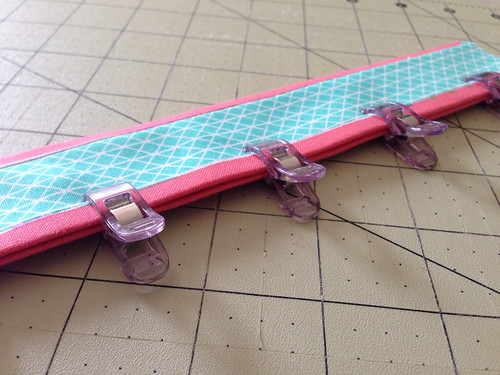
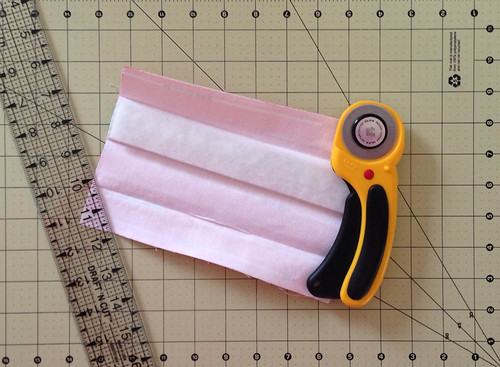
3. Fold the pieced block in half and press well with your iron. Next, using the seam allowance as a guide (told you could trust me!), fold the outside edges in towards the centre. Make sure you line up the outside folded edge really well and press again. Use binding clips or pins to hold everything together.
Optional – if you want to add the fusible fleece do so now – the fleece will need to be fused to the back of the section which has the exterior fabric.
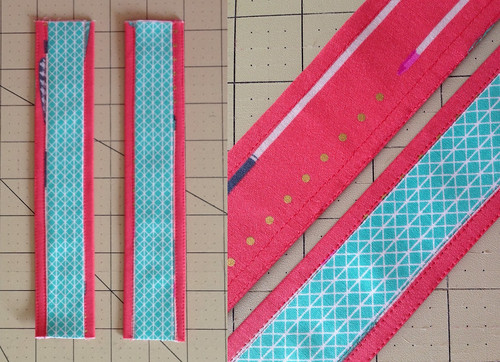
4. Sew 1/16th of an inch from the joined edge to secure the open side then add additional stitching lines ¼ of an inch in from both edges. Your handles will look like this when you are done and are ready to attach to your basket!
Have fun sewing this week. I can’t wait to see all of your gorgeous baskets on Instagram!
Thank you Peta for joining us and sharing your tutorial. If you plan to join in the sewalong post your finished basket to #dividedbasketsewalong on Instagram for the chance to win a $25 gift voucher kindly donated by the guest judge - Anna Graham of Noodlehead.
Very nice basked! Like your fabric combination.
ReplyDeleteIf I will make - finally some day - the divided basket I will absolutely use this handle tut!